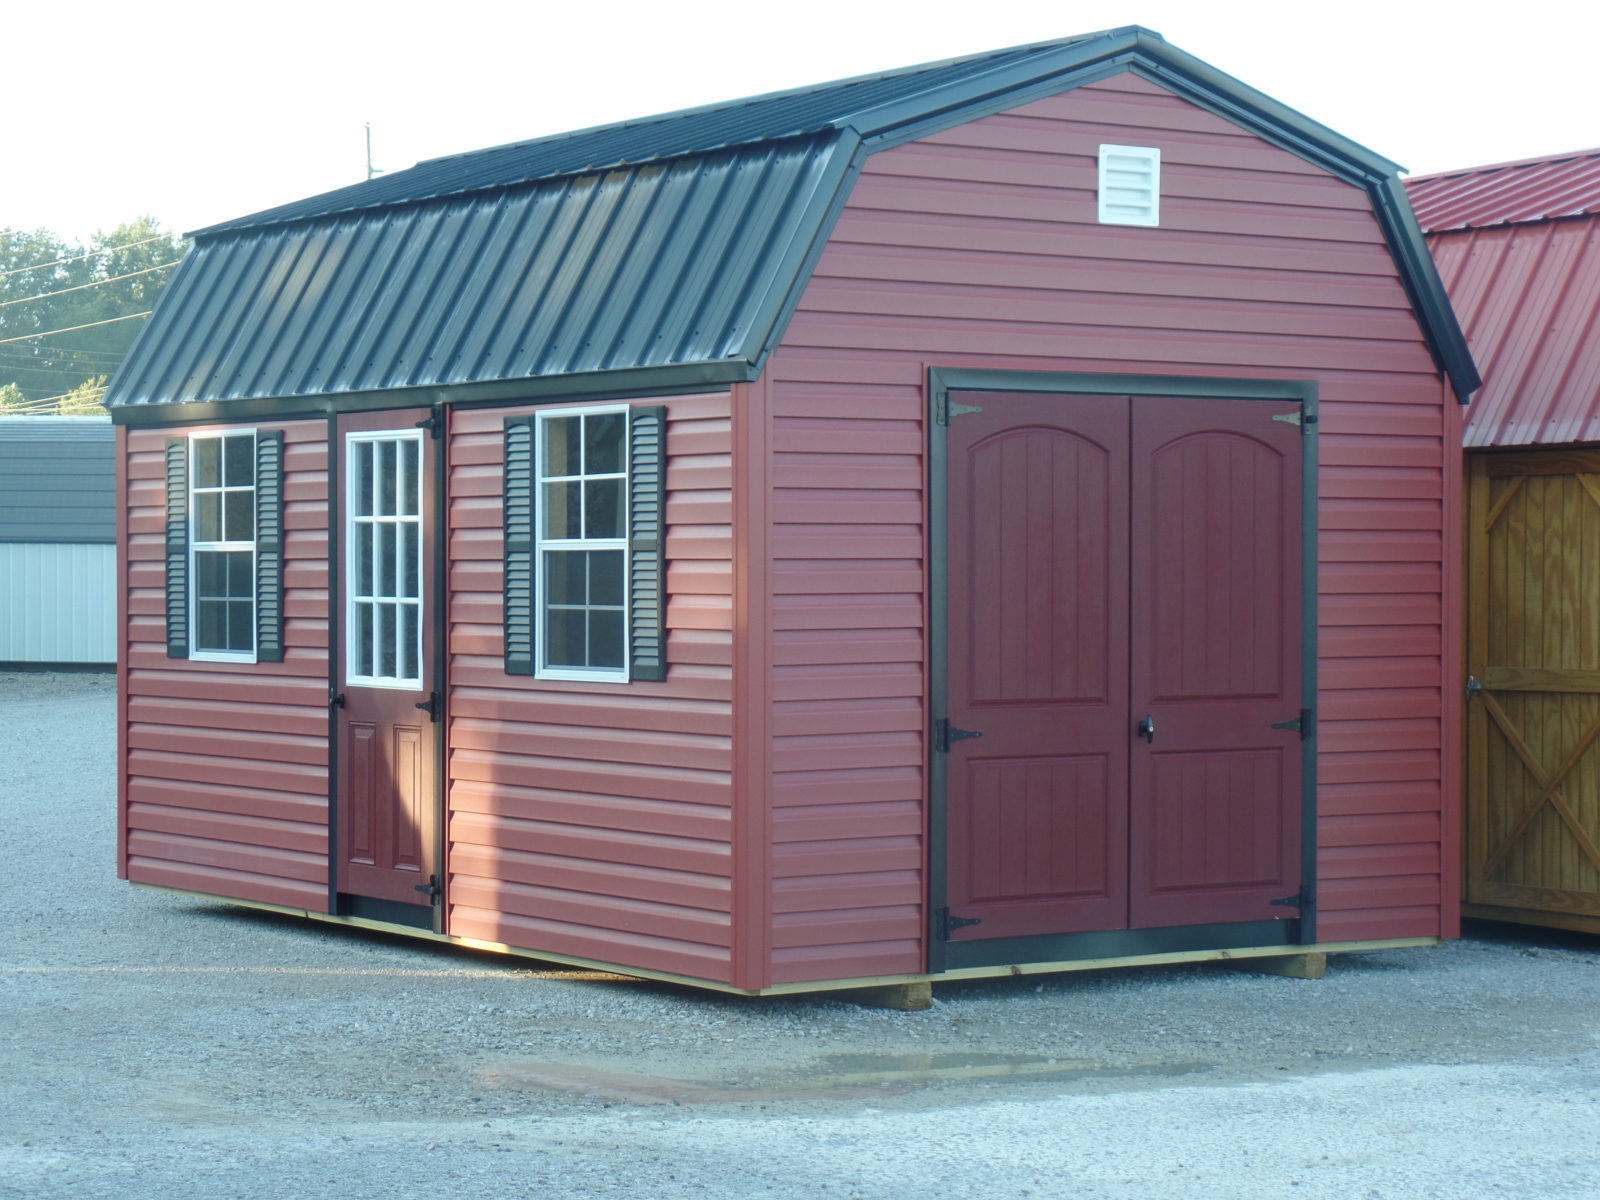
Hey there, fellow DIYer! Ever felt the pang of envy at those folks who have a neat, organized shed in their backyard? You know, the kind where you can store your lawnmower, tools, and maybe even that vintage motorcycle you’re restoring? Well, I’m here to tell you â€" you don't have to be a construction pro to build your very own shed. With a bit of planning, some elbow grease, and this handy guide, you can have your own personal storage haven in no time!
Step 1: Dream Big (and Measure Twice!)
The first step is to figure out exactly what you want your shed to be. Think about the dimensions â€" 12x20 is a great size for a good amount of storage without being overwhelming. Then consider the style. Do you want a classic, rustic look? Something sleek and modern? Maybe a charming gambrel roof? Once you've got a clear vision, start sketching out your shed on paper. It's easier than you think!
Now, it's time to get down to the nitty-gritty: measurement. Measure the area where you want to build your shed twice. Once you've got the exact dimensions, draw them out on a larger scale (graph paper is your friend!). This will be your building plan.
Step 2: Get Those Materials!
Now, let's talk materials. For a 12x20 shed, you'll need:
Foundation: Concrete blocks or pressure-treated lumber. Concrete is more durable but a bit more involved. Lumber is easier to work with but may need to be replaced eventually.
Framing: 2x4 or 2x6 pressure-treated lumber for the base, walls, and roof. Go with 2x6 if you need extra sturdiness.
Sheathing: Plywood or OSB (Oriented Strand Board) for the walls and roof. OSB is more affordable but plywood offers better moisture resistance.
Roofing: Asphalt shingles, metal roofing, or even cedar shakes, depending on your style and budget.
Doors and Windows: Choose sizes and styles to match your shed's design.
Hardware: Screws, nails, hinges, door handles, window latches, and more!
Step 3: Laying the Foundation
Alright, time to start building! This is where you'll need a helper, especially if you're using concrete blocks. First, level the ground where your shed will sit. If you're using blocks, lay them out according to your plans, making sure they're level. If you're using lumber, build a rectangular frame on top of the leveled ground. This will serve as your foundation.
Step 4: Building the Walls
Now for the walls. Cut your framing lumber to size according to your plans. You'll be building a frame around the perimeter of your shed, using corner posts and studs for support. Attach the sheathing to the frame using screws or nails. Make sure your walls are perfectly square and plumb (vertical) as you go along.
Step 5: Raising the Roof
This is where the fun really begins! Cut rafters for the roof, following your plans. Attach them to the top plates of your walls, creating a triangle shape. Then add the sheathing to the roof, making sure it's securely attached. Don't forget to install the roof overhang, which will protect your walls from the elements.
Step 6: Roofing Time!
Time to choose your roofing material! Follow the manufacturer's instructions for installation. You'll be attaching the roofing material to the sheathing, starting from the bottom and working your way up. Make sure you're using the right nails or screws for the type of roofing you've chosen.
Step 7: Doors and Windows
Here's where you get to add some personality to your shed! Measure the openings for your doors and windows and cut them out carefully. Then install your doors and windows, making sure they're secure and level. Add trim and moldings around them for a polished look.
Step 8: Finishing Touches
The final touches make all the difference! Add exterior trim around the windows and doors, and install siding if desired. Paint or stain your shed to match your style. You can also add gutters and downspouts to direct rainwater away from the foundation.
Step 9: Interior Finishing
Now it's time to personalize the inside of your shed! Apply a sealant or paint to the interior walls and add shelving, cabinets, and storage solutions as needed. You can even install lighting and electrical outlets for added functionality.
Step 10: Stand Back and Admire!
Congratulations! You've built your own shed, and it's looking great! Take some time to stand back and admire your handiwork. You've just accomplished something amazing, and you'll be proud to show it off to everyone.
Safety First!
Building a shed requires power tools and some lifting, so safety is paramount. Always wear safety glasses and gloves. Use a ladder with a secure footing and never try to lift anything heavier than you can manage safely. If you're unsure about anything, consult a professional.
Extra Tips:
Planning is key! A well-thought-out plan makes the process smoother and less stressful.
Ask for help! Friends and family are great resources for extra hands and advice.
Don't be afraid to make mistakes! Everyone makes mistakes, and they are all part of the learning process.
Take your time! Building a shed is a journey, so enjoy the process and celebrate your progress along the way.
Now you have a shed to call your own, a place to store your treasures and enjoy the fruits of your DIY labor. Happy building!


No comments:
Post a Comment
Note: Only a member of this blog may post a comment.