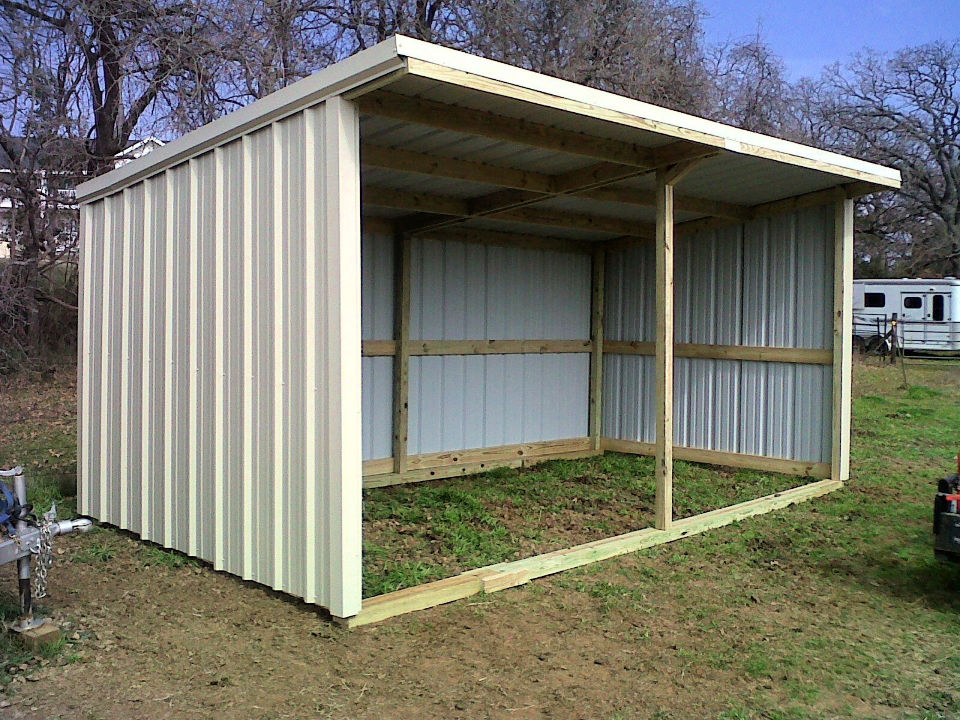
Building Your Own Lean-To Shed: A Simple Guide to Outdoor Storage
Tired of garden clutter and overflowing toolboxes? A lean-to shed offers a straightforward solution for adding valuable outdoor storage space without the complexity of a freestanding structure. This guide walks you through building your own lean-to shed, providing a step-by-step process suitable for DIY enthusiasts of all skill levels. Get ready to reclaim your yard and organize your belongings!
Planning Your Lean-To Shed
Before you grab your tools, careful planning ensures a successful project. First, choose a suitable location. Consider proximity to an existing structure (your house, garage, or fence) for support and weather protection. Next, determine the desired dimensions. A smaller shed is easier to build, but plan for sufficient space to store your items. Finally, check local building codes and regulations to ensure your shed complies with local ordinances.
Materials You'll Need
Gather these essential materials before you begin. Remember to adjust quantities based on your shed's dimensions:
- Pressure-treated lumber for the frame (posts, rafters, and supports)
- Plywood or OSB sheeting for the walls and roof
- Roofing material (e.g., asphalt shingles, metal roofing)
- Concrete or pressure-treated wood for the foundation
- Nails, screws, and other fasteners
- Level, measuring tape, saw, drill, and other basic tools
- Optional: Exterior paint or stain for weather protection
Constructing the Foundation and Frame
Begin by establishing a solid foundation. For a simple lean-to, a concrete slab or a bed of compacted gravel works well. Alternatively, use pressure-treated lumber for a slightly raised foundation. Next, erect the frame. Securely attach the vertical support posts to the foundation, ensuring they are plumb and level. Then, install horizontal supports to provide stability and strength. Finally, attach the rafters to create the sloping roofline, ensuring even spacing and proper overhang.
Adding Walls and Roofing
Once the frame is complete, it's time to install the wall sheeting. Use plywood or OSB, attaching the sheets securely to the frame. Remember to leave openings for doors and windows if desired. Next, apply the roofing material. Start at the bottom edge of the roof and work your way up, ensuring proper overlap for waterproofing. Secure the roofing with nails or screws, depending on the material you choose. Finally, consider adding a door for convenient access. You can purchase a pre-made door or build your own from lumber.
Finishing Touches and Maintenance
Add the finishing touches to complete your lean-to shed. Consider adding trim around the edges for a more polished look. If desired, apply exterior paint or stain to protect the wood from the elements and enhance its aesthetic appeal. Regular maintenance, such as cleaning and repainting as needed, will extend the life of your shed. Remember to check for any loose screws or nails and tighten them periodically.
Building a lean-to shed is a rewarding project that offers valuable outdoor storage. By following these detailed steps, you'll create a functional and aesthetically pleasing addition to your property. Now go out there and enjoy your new, organized outdoor space!


No comments:
Post a Comment
Note: Only a member of this blog may post a comment.