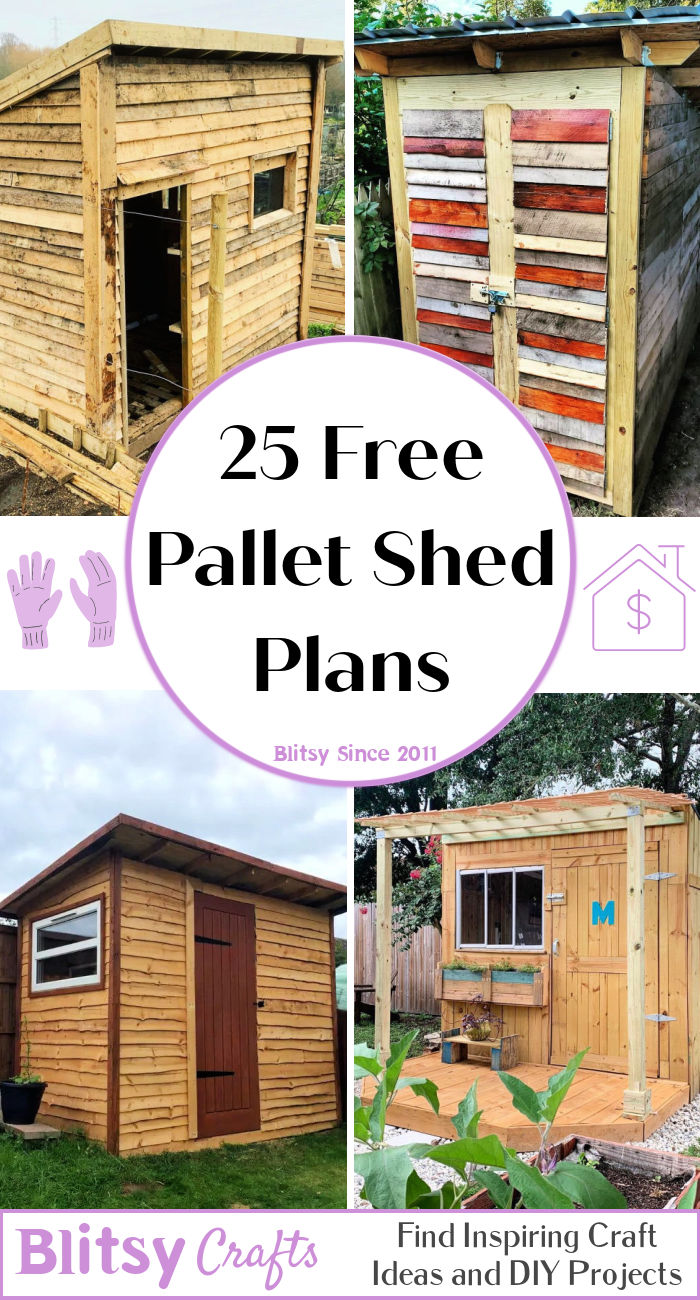
Wood Pallet Shed Plans: Build a Practical Storage Shed on a Budget
Tired of cluttered garages and overflowing storage spaces? Dreaming of a neat, organized outdoor shed without breaking the bank? Then look no further! This guide provides comprehensive plans for building a practical and surprisingly stylish storage shed using repurposed wood pallets. Forget expensive pre-fabricated sheds â€" you can build your own sturdy and attractive structure for a fraction of the cost, all while enjoying a rewarding DIY project.
Assessing Your Needs and Resources
Before diving into the construction, carefully plan your project. Consider the dimensions of your desired shed. How much storage space do you actually need? Measure the area where you intend to build. Ensure you have adequate space for both the shed itself and comfortable access. You’ll also need to check local building codes and obtain any necessary permits. Remember to factor in the terrain; a level foundation is crucial for stability. Next, source your pallets. Inspect them meticulously; choose sturdy pallets free from rot, significant damage, or pest infestation. You'll likely need a significant number, depending on the desired size of your shed.
Gathering Tools and Materials
Building a pallet shed requires specific tools and materials. Essential tools include: a hammer, crowbar, saw (circular saw recommended for speed and precision), drill with various drill bits, level, measuring tape, safety glasses, work gloves, and a nail gun (optional, but highly recommended for efficiency). Regarding materials, besides the pallets themselves, you'll need screws (galvanized for outdoor durability), pressure-treated lumber for the foundation (if necessary), roofing materials (e.g., corrugated metal sheets, asphalt shingles), and any desired finishing touches like paint or stain for weather protection and aesthetic appeal. Consider purchasing a heavy-duty tarp for protection during construction.
Constructing the Pallet Shed Frame
Begin by creating a solid foundation. Depending on your soil conditions, you might need a simple concrete slab or a level base of pressure-treated lumber. Once the foundation is secure, start assembling the pallet walls. Carefully dismantle the pallets to acquire usable planks. Remove any protruding nails or staples to prevent injuries. Assemble the planks vertically or horizontally to create sturdy walls, ensuring you create strong, interconnected framing. You might need to add extra support beams to strengthen the structure, especially for larger sheds. Securely fasten all components using screws for maximum durability. Pay close attention to square corners; use a speed square to ensure perfect 90-degree angles.
Roof Construction
The roof design is pivotal for weather protection. A simple gable roof is ideal for beginners and offers excellent water runoff. Construct the roof frame using additional pressure-treated lumber, ensuring sufficient overhang to protect the walls from rain. Securely attach the chosen roofing material to the frame, ensuring a watertight seal. Overlap roofing sheets appropriately to prevent leaks. Always follow the manufacturer's instructions for your specific roofing material.
Finishing Touches and Customization
Once the structure is complete, consider adding finishing touches to enhance both functionality and aesthetics. Apply a weather-resistant sealant or paint to protect the wood from the elements. Adding a door and a window will enhance usability and ventilation. You can customize your shed with features like shelves for added storage, a work bench, or even a small lean-to. Remember that creativity is key; let your personal style shine through!
Safety First!
Throughout the entire building process, prioritize safety. Always wear safety glasses and work gloves. Use caution when handling power tools and ensure proper ventilation if working with paint or sealant. If you're unsure about any aspect of the construction, seek assistance from a qualified builder. Remember, safety should always be your top priority.
Building a pallet shed offers a unique opportunity to create a practical and cost-effective storage solution. This project not only saves money but also allows for a creative and rewarding DIY experience. Enjoy your new, personalized storage shed!


No comments:
Post a Comment
Note: Only a member of this blog may post a comment.